Melty Cheese and Savory Steak: Your New Favorite Philly Cheesesteak Slider Recipe

Key Takeaways:
- Discover a delicious Philly Cheesesteak Slider recipe perfect for any occasion.
- Learn the key ingredients and steps to prepare these mouth-watering sliders.
- Get tips on making the ideal cheesesteak filling and assembling the sliders.
- Find ideas for customizing and serving your sliders to make them a hit at your next gathering.
Table of Contents:
- Introduction
- Ingredients and Preparation
- Step-by-Step Guide
- Customizing Your Sliders
- Tips for Serving
- Conclusion
Introduction
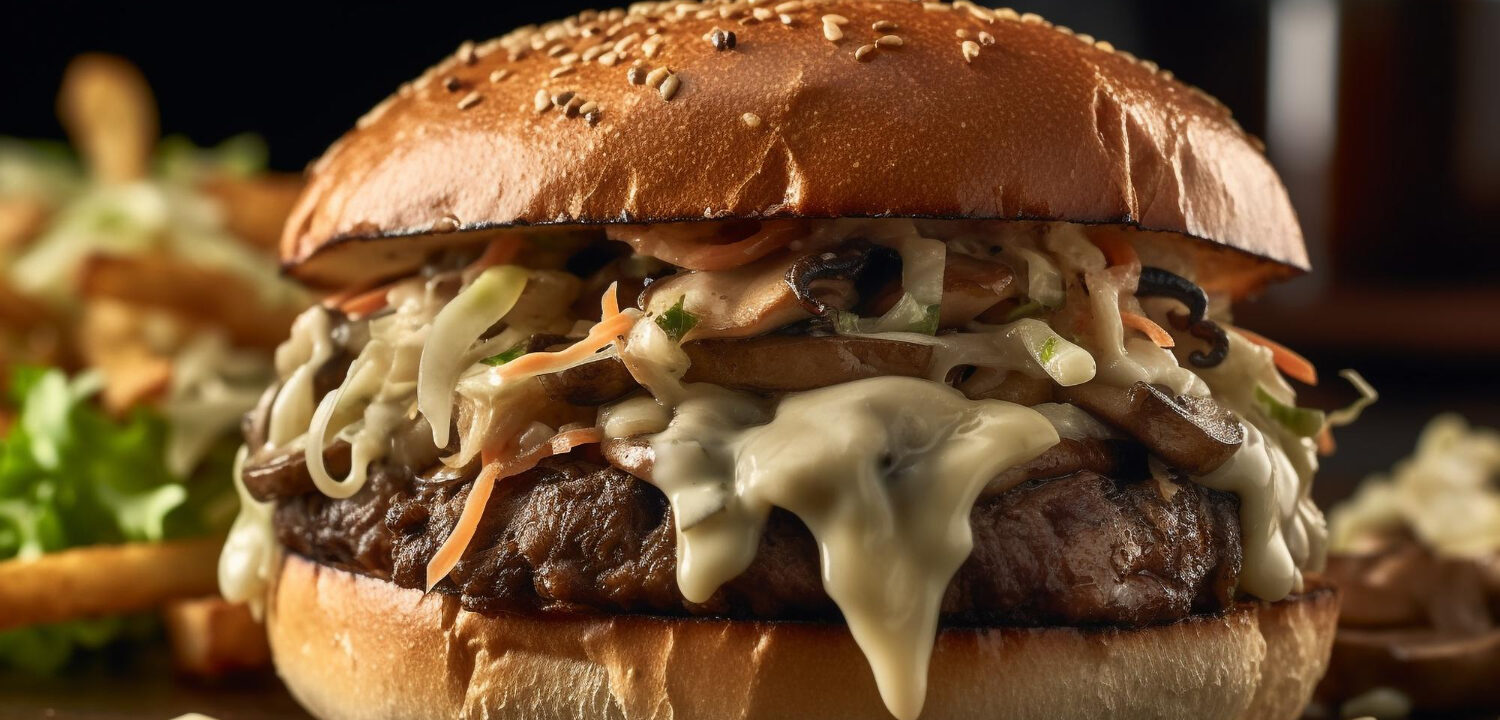
If you’re craving a delicious and easy-to-make appetizer, look no further than the Philly Cheesesteak Slider. Combining juicy, savory steak with melted cheese and sautéed onions, this miniaturized version of the classic Philly Cheesesteak is perfect for parties, game days, or any casual gathering. These sliders pack all the flavors of a traditional cheesesteak into a convenient, bite-sized treat that your guests will love.
Sliders are more than just miniature burgers; they are a canvas that allows for creativity and culinary innovation.
Ingredients and Preparation
Gather all the necessary ingredients before making these delectable sliders to ensure a smooth cooking process. You can start with this beautiful Philly cheesesteak sliders recipe to guide your culinary adventure.
Main Ingredients
- Thinly sliced steak (ribeye or sirloin recommended) – The quality of the steak is crucial as it will provide a rich, savory base for your sliders.
- Provolone or American cheese slices – Choose a cheese that melts well and complements the flavors of the steak.
- Thinly sliced onions add sweetness and depth to the sliders, balancing the savory steak.
- Bell peppers, thinly sliced (optional) – For added crunch and a touch of sweetness.
- Mini slider buns or rolls – The foundation that holds everything together; soft and slightly toasted is ideal.
- Butter or olive oil – Used for sautéing the vegetables and cooking the steak.
- Salt and pepper to taste – Essential seasonings enhance the ingredients’ natural flavors.
- Garlic powder and onion powder (optional) – Additional seasonings for more depth and complexity.
Initial Preparation
Start by preparing your steak. Freeze the steak for about 20-30 minutes to make it easier to slice thinly. Once chilled, cut the steak into thin strips with a sharp knife. This ensures even cooking and a tender texture. Season the steak liberally with salt, pepper, and the optional garlic and onion powder to infuse the meat with flavor before cooking.
Next, prepare the onions and bell peppers by slicing them thinly. Thin slices cook more evenly and quickly, creating a caramelized, flavorful topping for your sliders. These vegetables provide a sweet and savory balance that complements the richness of the steak and cheese. Having all ingredients prepped and ready makes the assembly and cooking process smoother.
Step-by-Step Guide
Step 1: Sautéing the Vegetables
Heat a large skillet over medium-high heat and add a tablespoon of butter or olive oil. Once melted, add the sliced onions and bell peppers. Cook occasionally until the onions are soft and caramelized, about 10 minutes. The caramelization process brings out the natural sweetness in the onions, adding depth to the sliders. Remove the vegetables from the skillet and set them aside.
Step 2: Cooking the Steak
In the same skillet, add another tablespoon of butter or olive oil. Increase the heat to high and add the thinly sliced steak. Cook the steak quickly, stirring frequently, until it is browned and cooked. This should only take about 2-3 minutes. Cooking the steak over high heat ensures it develops a nice brown crust while remaining juicy. Once done, remove the skillet from heat to prevent overcooking and toughening the meat.
Step 3: Assembling the Sliders
Preheat your oven to 350°F (175°C). This allows the stove to reach the right temperature for melting the cheese and toasting the buns. Cut the slider buns and place the bottom halves on a baking sheet. Arrange the cooked steak evenly over the buns, followed by the sautéed onions and bell peppers. The even distribution ensures that every bite is packed with flavor. Place a slice of cheese over each slider, covering the steak and vegetables. Top with the bun tops.
Step 4: Melting the Cheese
Place the sliders in the oven and bake for about 5 minutes until the cheese has melted and the buns are slightly toasted. The goal is to thoroughly melt the cheese while keeping the buns soft and lightly crispy. Keep a close eye to prevent over-toasting the buns, making them too crunchy and difficult to eat.
Customizing Your Sliders
The beauty of Philly Cheesesteak Sliders lies in their versatility. Feel free to experiment with cheeses like cheddar, mozzarella, or spicy pepper jack. Each type of cheese brings its unique flavor profile and melting characteristics, allowing for endless customization. Add toppings like mushrooms, jalapeños, or a drizzle of your favorite sauce for an extra kick.
Tips for Serving
Presentation makes a big difference when it comes to sliders. Arrange your Philly Cheesesteak Sliders neatly on a serving platter and garnish with fresh herbs like parsley or chives for a pop of color. Including a selection of dipping sauces, such as garlic aioli, spicy mustard, or a tangy barbecue sauce, can elevate the dining experience for your guests. Adding a variety of sauces allows guests to tailor their sliders to their taste preferences.
Conclusion
Philly Cheesesteak Sliders are a delightful and versatile appetizer that can be enjoyed at any event. With their combination of melty cheese, savory steak, and flavorful vegetables, these sliders will surely be a crowd-pleaser. Following the steps outlined in this guide and adding your creative touches, you can easily make these delicious sliders a staple at your gatherings.
So the next time you’re looking for an irresistible and easy-to-make dish, remember this Philly Cheesesteak Slider recipe. With some preparation and creativity, you’ll have a mouth-watering treat that will leave your guests craving more. Whether you’re hosting a casual game day party or a more formal celebration, these sliders are sure to impress. Enjoy the process of making and sharing these beautiful sliders, and watch your guests savor every bite.


